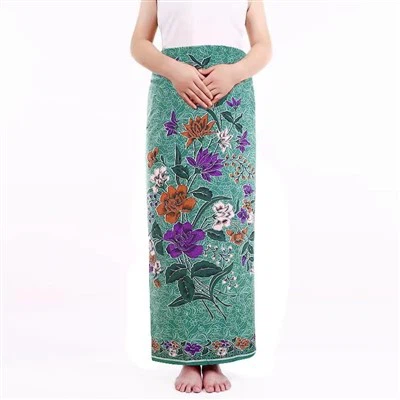
As a seasoned supplier of sewed sarongs, I'm often asked about the art of sewing a button - up sarong. It's a unique and stylish piece of clothing that combines the comfort of a sarong with the functionality of buttons. In this blog, I'll guide you through the process step - by - step, sharing tips and tricks along the way.
Materials Needed
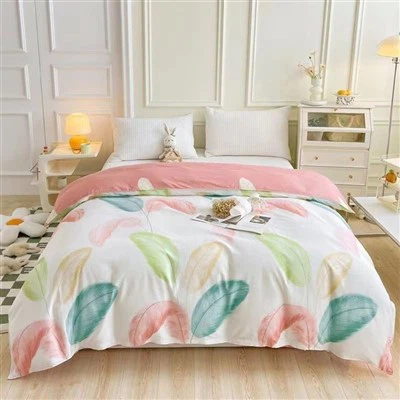
Before you start sewing, you'll need to gather the necessary materials. First and foremost, you'll need a suitable fabric. I highly recommend our Disperse Print Super Soft Fabric. This fabric is not only incredibly soft to the touch but also has a beautiful disperse print that adds a touch of elegance to your sarong.
You'll also need buttons. Choose buttons that complement the fabric and the overall style of your sarong. For a more tropical look, you might opt for wooden or shell buttons. Additionally, you'll need a sewing machine, thread that matches the fabric color, scissors, a measuring tape, and a pencil or fabric marker for marking the fabric.
Measuring and Cutting the Fabric
The first step in sewing a button - up sarong is to measure and cut the fabric. The size of your sarong will depend on your personal preference and the intended use. A standard sarong width is usually around 45 to 60 inches, and the length can range from 54 to 72 inches.
Lay the fabric out on a flat surface, making sure it's smooth and free of wrinkles. Use the measuring tape to measure the desired width and length. Mark the measurements with a pencil or fabric marker. Then, carefully cut the fabric along the marked lines using sharp scissors.
Creating the Buttonholes
Once you have your fabric cut, it's time to create the buttonholes. Decide how many buttons you want to use and mark their positions on one side of the sarong. Make sure the buttons are evenly spaced.
To create the buttonholes, you can use a buttonhole foot on your sewing machine. Follow the instructions in your sewing machine manual to set up the buttonhole foot correctly. Place the fabric under the foot, aligning the marked buttonhole position with the center of the foot. Sew the buttonholes according to the machine's settings. After sewing each buttonhole, use a seam ripper to cut open the center of the buttonhole carefully.
Attaching the Buttons
After creating the buttonholes, it's time to attach the buttons to the opposite side of the sarong. Match the buttons with the buttonholes and mark their positions on the fabric. Use a needle and thread to sew the buttons onto the fabric. Make sure the buttons are securely attached and that they align with the buttonholes.
Sewing the Seams
Now that the buttons and buttonholes are in place, it's time to sew the seams. Fold the fabric in half lengthwise, with the right sides together. Pin the edges to hold them in place. Then, using your sewing machine, sew a straight seam along the open edges, leaving a small opening at the top for turning the sarong right - side out.
Once the seam is sewn, use the scissors to trim the excess fabric and clip the corners. Carefully turn the sarong right - side out through the opening. Use a chopstick or a turning tool to push out the corners and make them sharp. Then, sew the opening closed by hand or using the sewing machine.


Adding Finishing Touches
To give your button - up sarong a more polished look, you can add some finishing touches. You might choose to hem the edges of the sarong. Fold the edges over by about 1/4 inch and then fold them over again by about 1/2 inch. Pin the hem in place and sew it using a straight stitch on your sewing machine.
You could also add some decorative elements to your sarong. For example, you could sew on some lace or embroidery along the edges or around the buttons. This will make your sarong stand out and add a personal touch.
Different Styles of Button - Up Sarongs
There are many different styles of button - up sarongs that you can create. For a more traditional look, you can keep the design simple with a straight hem and a few evenly spaced buttons. If you want a more modern and trendy look, you could experiment with asymmetrical hems or different button placements.
One popular style is the wrap - around button - up sarong. This style allows you to wrap the sarong around your body and fasten it with the buttons on the side. Another style is the tunic - style button - up sarong, which is longer and can be worn as a dress or a top.
Benefits of Our Sarong Fabrics
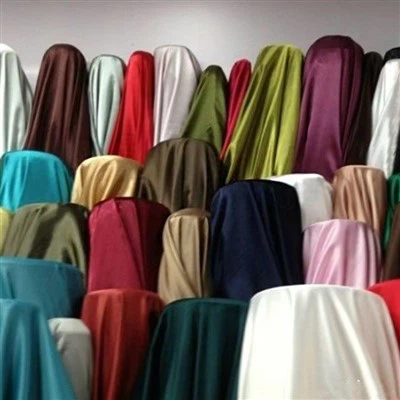
As a supplier of sewed sarongs, we offer a wide range of high - quality fabrics. Our Disperse Print Sarong with Golden is a great choice for those who want a fabric with a touch of luxury. The golden print adds a glamorous look to the sarong, making it perfect for special occasions.
Our Embossed Microfiber Polyester Fabric is also a popular option. It has a unique embossed texture that gives the sarong a more interesting look. This fabric is also lightweight and breathable, making it ideal for warm weather.
Conclusion
Sewing a button - up sarong is a fun and rewarding project that allows you to create a unique piece of clothing. By following the steps outlined in this blog, you can easily make your own button - up sarong. Whether you're a beginner or an experienced sewer, you'll find that with the right materials and a little patience, you can create a beautiful and functional sarong.
If you're interested in purchasing our high - quality sarong fabrics or have any questions about our products, we encourage you to contact us for a procurement discussion. We're here to help you find the perfect fabric for your next sewing project.
References
- Sewing Machine Manuals
- Fabric Care Guides from Fabric Manufacturers