Tie-dyeing is an ancient and vibrant fabric coloring technique that has seen a resurgence in popularity in recent years. As a dyed fabric supplier, I've had the privilege of working with this fascinating process firsthand. In this blog post, I'll walk you through the step-by-step process of tie-dyeing fabric, sharing insights and tips gained from my years in the industry.
Step 1: Selecting the Fabric
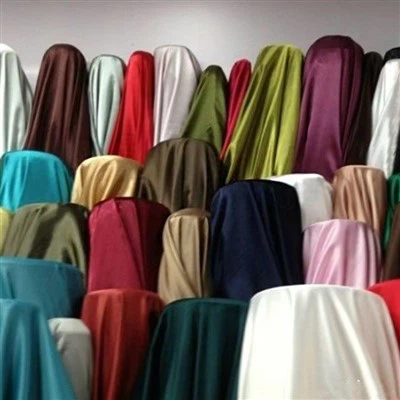
The first crucial step in tie-dyeing is choosing the right fabric. Natural fibers like cotton, silk, and linen are ideal because they absorb dyes well, resulting in vibrant and long-lasting colors. Synthetic fibers such as polyester can also be tie-dyed, but they require special dyes formulated for synthetics. At our supply, we offer a variety of fabrics suitable for tie-dyeing, including the Polyester Embossed Bazin Fabric, Polyester Embossed Bubble Fabric, and Four Way Stretch Polyester Spandex Fabric. These fabrics are not only great for tie-dyeing but also offer unique textures and qualities that can enhance the final look of your project.
Step 2: Preparing the Fabric
Before you start tie-dyeing, it's essential to prepare the fabric properly. This involves washing the fabric to remove any dirt, oils, or sizing agents that may prevent the dye from adhering evenly. You can use a mild detergent and avoid using fabric softeners, as they can create a barrier between the fabric and the dye. After washing, dry the fabric thoroughly.
Step 3: Choosing the Dyes
There are several types of dyes available for tie-dyeing, including fiber-reactive dyes, acid dyes, and all-purpose dyes. Fiber-reactive dyes are the most popular choice for natural fibers because they bond chemically with the fabric, resulting in bright, long-lasting colors. Acid dyes are used for silk and nylon, while all-purpose dyes can be used on a variety of fabrics. When selecting dyes, consider the color palette you want to achieve and the type of fabric you're using.


Step 4: Creating the Design
One of the most exciting aspects of tie-dyeing is creating your own unique design. There are countless ways to manipulate the fabric to create different patterns, such as folding, twisting, crumpling, and tying. Here are some popular tie-dyeing techniques:
- Spiral: To create a spiral pattern, place the fabric flat on a surface and pinch the center. Then, twist the fabric tightly in a spiral motion until you reach the edge. Secure the spiral with rubber bands at regular intervals.
- Bullseye: For a bullseye pattern, fold the fabric in half several times to create a small square. Then, pinch the center of the square and secure it with a rubber band. You can add additional rubber bands around the center to create more rings.
- Crumple: To create a crumpled pattern, simply crumple the fabric into a ball and secure it with rubber bands at random intervals. This technique creates a more organic, abstract design.
Step 5: Applying the Dyes
Once you've created your design, it's time to apply the dyes. You can use squeeze bottles, spray bottles, or brushes to apply the dye to the fabric. Start by wetting the fabric with water to help the dye spread more evenly. Then, apply the dyes to the fabric, following your design. Make sure to saturate the fabric thoroughly with dye, especially in the areas where you want the colors to be the most vibrant. You can use multiple colors to create a more complex design.
Step 6: Letting the Dye Set
After applying the dyes, it's important to let the dye set. This allows the dye to bond with the fabric and ensures that the colors are long-lasting. You can let the fabric sit at room temperature for several hours or overnight, or you can speed up the process by heating the fabric in a dryer or an oven. Make sure to follow the instructions on the dye package for the best results.
Step 7: Rinsing and Washing the Fabric
Once the dye has set, it's time to rinse and wash the fabric. Start by rinsing the fabric under cold water until the water runs clear. Then, wash the fabric in a washing machine using a mild detergent. You may need to wash the fabric several times to remove all the excess dye. After washing, dry the fabric thoroughly.
Step 8: Finishing the Fabric
After washing and drying the fabric, you can finish it by ironing it to smooth out any wrinkles. You can also add additional embellishments, such as embroidery, sequins, or beads, to enhance the final look of your tie-dyed fabric.
Conclusion
Tie-dyeing is a fun and creative way to add color and personality to your fabrics. By following these steps, you can create your own unique tie-dyed designs that are sure to stand out. As a dyed fabric supplier, I'm passionate about providing high-quality fabrics and dyes to help you bring your creative ideas to life. If you're interested in purchasing fabrics or dyes for your tie-dyeing projects, please don't hesitate to contact me. I'd be happy to assist you with your selection and answer any questions you may have.
References
- "Tie Dyeing: A Step-by-Step Guide." Martha Stewart.
- "The Ultimate Guide to Tie Dyeing." DIY Network.
- "Tie Dyeing Techniques and Patterns." Craftsy.