Hey there! I'm stoked to share with you the ins and outs of sewing a lined sarong. As a supplier of Sewed Sarongs, I've got tons of hands - on experience with this process, and I'm excited to walk you through it.
Getting Started: Materials and Tools
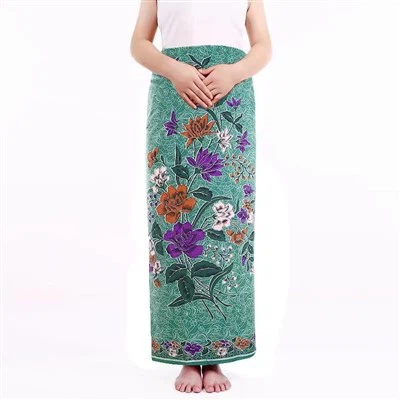
First things first, you'll need to gather your materials. You'll want two pieces of fabric for the sarong itself and the lining. I highly recommend checking out our Printed Southeast Asia Sarong for the outer layer. It comes in some really cool prints that give your sarong a unique, tropical vibe. For the lining, the Disperse Print Microfiber Fabric is a great choice. It's soft, lightweight, and easy to work with.
As for tools, you'll need a good pair of fabric scissors, a sewing machine (though you can do it by hand if you're up for a challenge), pins, a measuring tape, and a seam ripper just in case you make any mistakes. Don't forget about thread! Make sure to choose a thread color that matches your fabric or at least complements it.
Measuring and Cutting
Once you've got your materials and tools ready, it's time to measure and cut your fabric. The size of your sarong will depend on how you want it to fit. A standard sarong is usually about 60 inches wide and 45 inches long. But you can adjust these measurements based on your preference.
Lay your outer fabric and lining fabric on a flat surface, right sides together. Use your measuring tape to mark the dimensions you want. Then, carefully cut both pieces of fabric at the same time. This ensures that they're the exact same size.
Sewing the Sides
Now that your fabric is cut, it's time to start sewing. Take your two pieces of fabric and pin them together along the sides. Make sure the edges are aligned perfectly. You can start sewing from one corner and work your way down the side. Use a straight stitch on your sewing machine, and keep your stitches about ¼ inch from the edge.
When you reach the bottom corner, stop and backstitch to secure the stitches. Repeat this process on the other side. Once you've sewn both sides, you should have a tube - like shape.
Creating the Waistband
The waistband is an important part of the sarong. It's what keeps it in place. To make the waistband, cut a strip of fabric that's about 3 inches wide and long enough to go around your waist with some overlap. You can use the same fabric as the outer layer or a coordinating fabric.
Fold the strip of fabric in half lengthwise, right sides together. Sew along the long edge, leaving one end open. Turn the waistband right side out through the open end. Use a safety pin or a bodkin to thread the waistband through the top of the sarong. Make sure to leave some extra length at both ends so you can tie it.
Adding the Lining
Now, it's time to add the lining. Turn the sarong inside out so the right side is facing in. Place the lining inside the sarong, right sides together. Pin the lining to the sarong along the top edge. Sew around the top edge, leaving a small opening for turning.
Once you've sewn around the top, turn the sarong right side out through the opening. Push the lining into place so it's inside the sarong. Sew the opening closed using a ladder stitch or a blind stitch. This will make the seam almost invisible.
Finishing Touches
Your sarong is almost done! You can add some finishing touches to make it look even better. For example, you can hem the bottom edge of the sarong. Fold the bottom edge up about ½ inch and then fold it up again another ½ inch. Pin it in place and sew a straight stitch along the edge.
You can also add some decorative elements like tassels or beads to the ends of the waistband. This will give your sarong a more personalized look.
Why Choose Our Fabrics?
As a Sewed Sarong supplier, we take pride in offering high - quality fabrics. Our Printed Southeast Asia Sarong is made from premium materials that are durable and fade - resistant. The prints are vibrant and eye - catching, making your sarong stand out from the crowd.
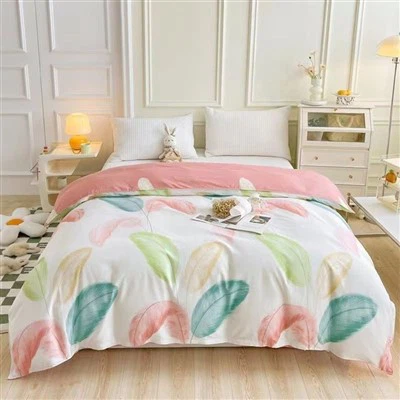
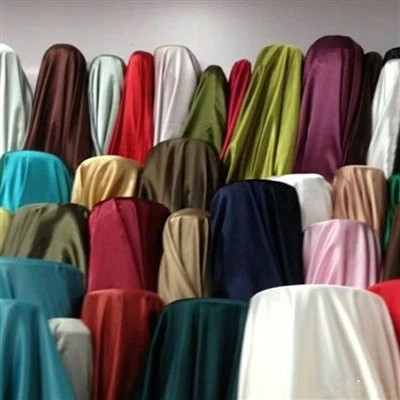
The Disperse Print Microfiber Fabric we use for the lining is soft against the skin and has excellent breathability. It's also easy to care for, which is a big plus. And if you're looking for something a bit different, our Disperse Printed Twill Microfiber Curtain Fabric can be used in creative ways to add a unique touch to your sarong.
Contact Us for Bulk Orders
If you're interested in purchasing our fabrics in bulk for your sewing projects or if you're a business looking to stock up on Sewed Sarongs, we'd love to hear from you. We offer competitive prices and excellent customer service. Whether you're a small - scale crafter or a large - scale retailer, we can work with you to meet your needs.


Conclusion
Sewing a lined sarong is a fun and rewarding project. It allows you to create a unique piece of clothing that's both stylish and functional. By following these steps and using our high - quality fabrics, you can make a sarong that you'll be proud to wear or sell. So, what are you waiting for? Grab your materials and start sewing!
References
- "Sewing for Beginners" by Jane Smith
- "Fabric Guide: Choosing the Right Materials" by John Doe
- Online sewing tutorials from various crafting websites